My first experience with laser cutting
I recently gave 3D printing a try, and I decided I also wanted to try another fabrication technique, laser cutting. Laser cutting appears to have lower cost and higher precision compared to 3D printing, as well as a much wider selection of materials. The downside is that laser cutting is limited to cutting and engraving two-dimensional shapes, making it much more limited than 3D printing.
I chose Ponoko to do the laser cutting. They accept designs as specially-formatted SVG files, where different colors represent different types of cutting and engraving. To produce SVG files, I had to learn Inkscape. I’ve always been an Xfig guy, and had never gotten around to learning Inkscape. Technically, Xfig can also produce SVG files, but I decided to try Inkscape since it was the program that Ponoko recommended.
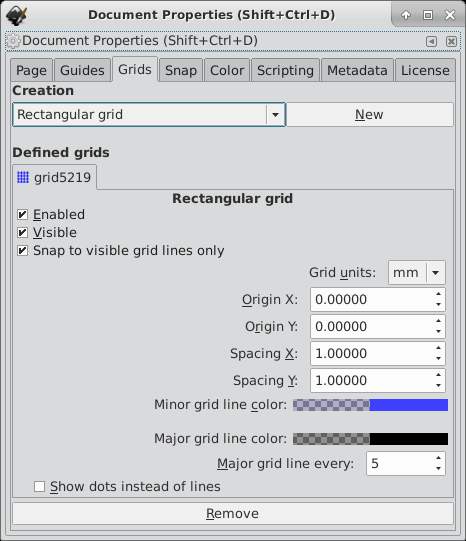
Inkscape is more powerful than Xfig, but also has a higher learning curve. I found the situation with grids to be especially frustrating. In Inkscape, you have to create a grid, enable snapping to the grid, and choose which kinds of things you want to snap to the grid. The number of toggle buttons is overwhelming, and I still don’t have it entirely figured out. In Xfig, the grid was either off, or on in a couple of different sizes, and you could quickly switch between them. When the grid was on, everything snapped to it. No thresholds, and no having to choose which types of things are affected by the grid and which aren’t.
However, Inkscape has a number of wonderful abilities, such as the ability to take the union of shapes or the difference of shapes, to form new shapes. This made it easy to build a design out of multiple shapes, then combine them into one shape, and stroke that shape.

One unfortunate occurrence is that Ponoko requires the lines in the SVG file to be 0.01 millimeters wide. At that width, the lines simply disappear in Inkscape and are not visible. So I chose to make my lines 0.1 millimeters wide (which shows up just fine), and then at the last moment, select the whole design and change the line width to 0.01 millimeters. It would be nice if Inkscape had a mode to make lines show up even when their width can’t be rendered accurately.
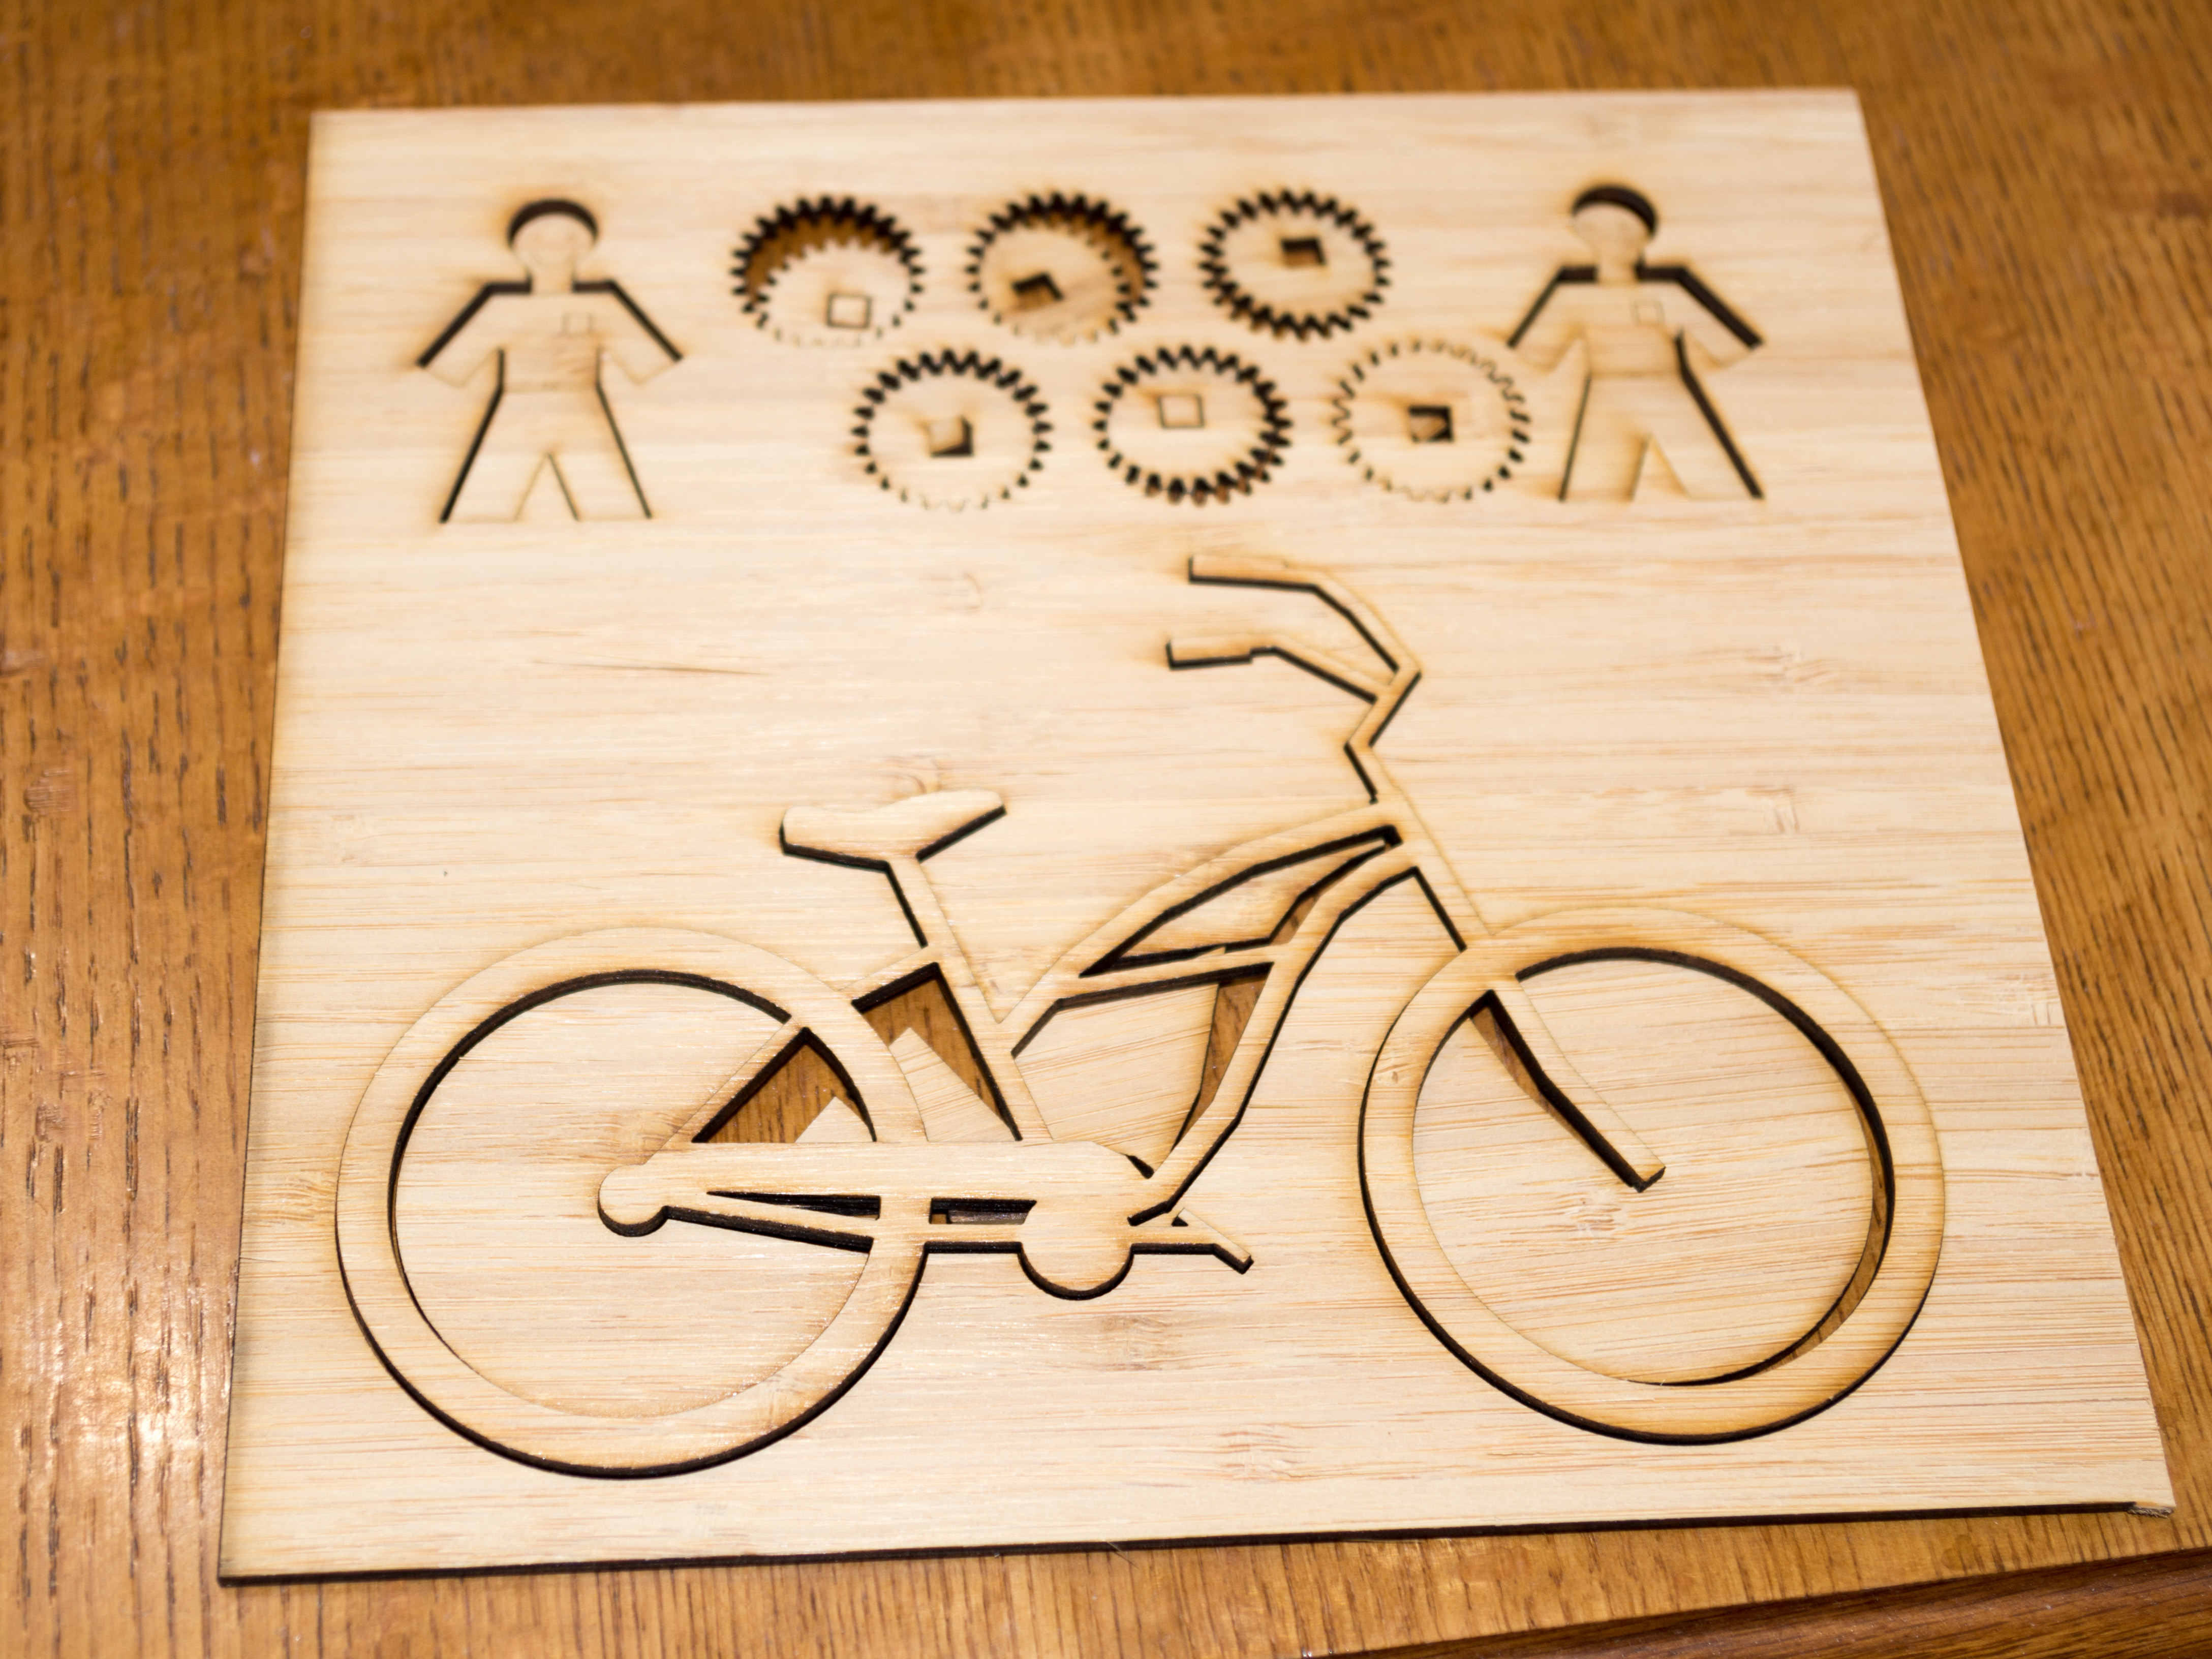
I chose to cut my designs into bamboo, and a couple of days later, my cutting arrived in the mail. The cut sheet of bamboo was sandwiched between two layers of adhesive paper, which kept all of the pieces in place. There was a strong odor of burnt wood, which is understandable. The cut edges were blackened, but the effect was attractive looking. Overall, I was very pleased. And the cuts were very smooth and precise, compared to the rough surface texture of 3D prints.