Android development on the command line
Although it’s possible to develop for Android using (almost) entirely command-line tools, Google’s documentation isn’t geared for that. So, I thought I’d write up my experiences.
Installation
First, install Java. I have Java 1.8:
whiteandnerdy:example$ java -version
java version "1.8.0_25"
Java(TM) SE Runtime Environment (build 1.8.0_25-b17)
Java HotSpot(TM) 64-Bit Server VM (build 25.25-b02, mixed mode)
Next, download Android Studio. Go ahead and install Android Studio. (On OS X, this involved opening the .dmg and then dragging Android Studio to Applications.) Then, run Android Studio, because this is necessary to finish the installation. Once the installation is finished, you can quit Android Studio.
Android Studio installed the Android SDK somewhere. On OS X, this is ~/Library/Android/sdk, but on Linux or Windows it would be somewhere different.
You’ll need to set a couple environment variables in your shell. (And you’ll probably want to set them in your .profile, too.) First, set ANDROID_HOME to the directory where the SDK is, such as ~/Library/Android/sdk. Then, add $ANDROID_HOME/tools and $ANDROID_HOME/platform-tools to PATH.
Now, just type “android” to launch the SDK Manager (a GUI program), which will let you download additional API levels. (I’m going to use API level 21 in this example.)
Creating a new project
android create project can be used to create a new project from the command line, like this:
android create project \
    --activity ExampleActivity \
    --package org.funwithsoftware.example \
    --target android-21 \
    --path example \
    --gradle \
    --gradle-version 2.1.3
This creates a new directory named example in the current directory, containing an example program with a single Activity named org.funwithsoftware.example.ExampleActivity. It targets API Level 21.
Counter-intuitively, --gradle-version is not the version of Gradle to use. Instead it is the version of the Android Gradle plugin to use.
Anyway, in theory the example directory should contain a complete, ready-to-build example project. In practice, I ran into a few problems that needed to be fixed.
First, in the file gradle/wrapper/gradle-wrapper.properties, change the line:
distributionUrl=http\://services.gradle.org/distributions/gradle-1.12-all.zipto:
distributionUrl=http\://services.gradle.org/distributions/gradle-2.14.1-all.zipThis is where you actually set the Gradle version, and for some reason, android project create sets a Gradle version that the Android Gradle plugin is not happy with.
Next, edit build.gradle, and change:
runProguard falseto:
minifyEnabled trueas explained in this Stack Overflow post.
Building and running the project
At this point, cd to the example directory, and you should be able to type:
./gradlew taskswhich will list all of the possible Gradle tasks available.
To just build your app, type:
./gradlew assembleHowever, if you have an Android phone attached, you can do:
./gradlew installDebugwhich will first do assemble, and will then install the app on your phone.
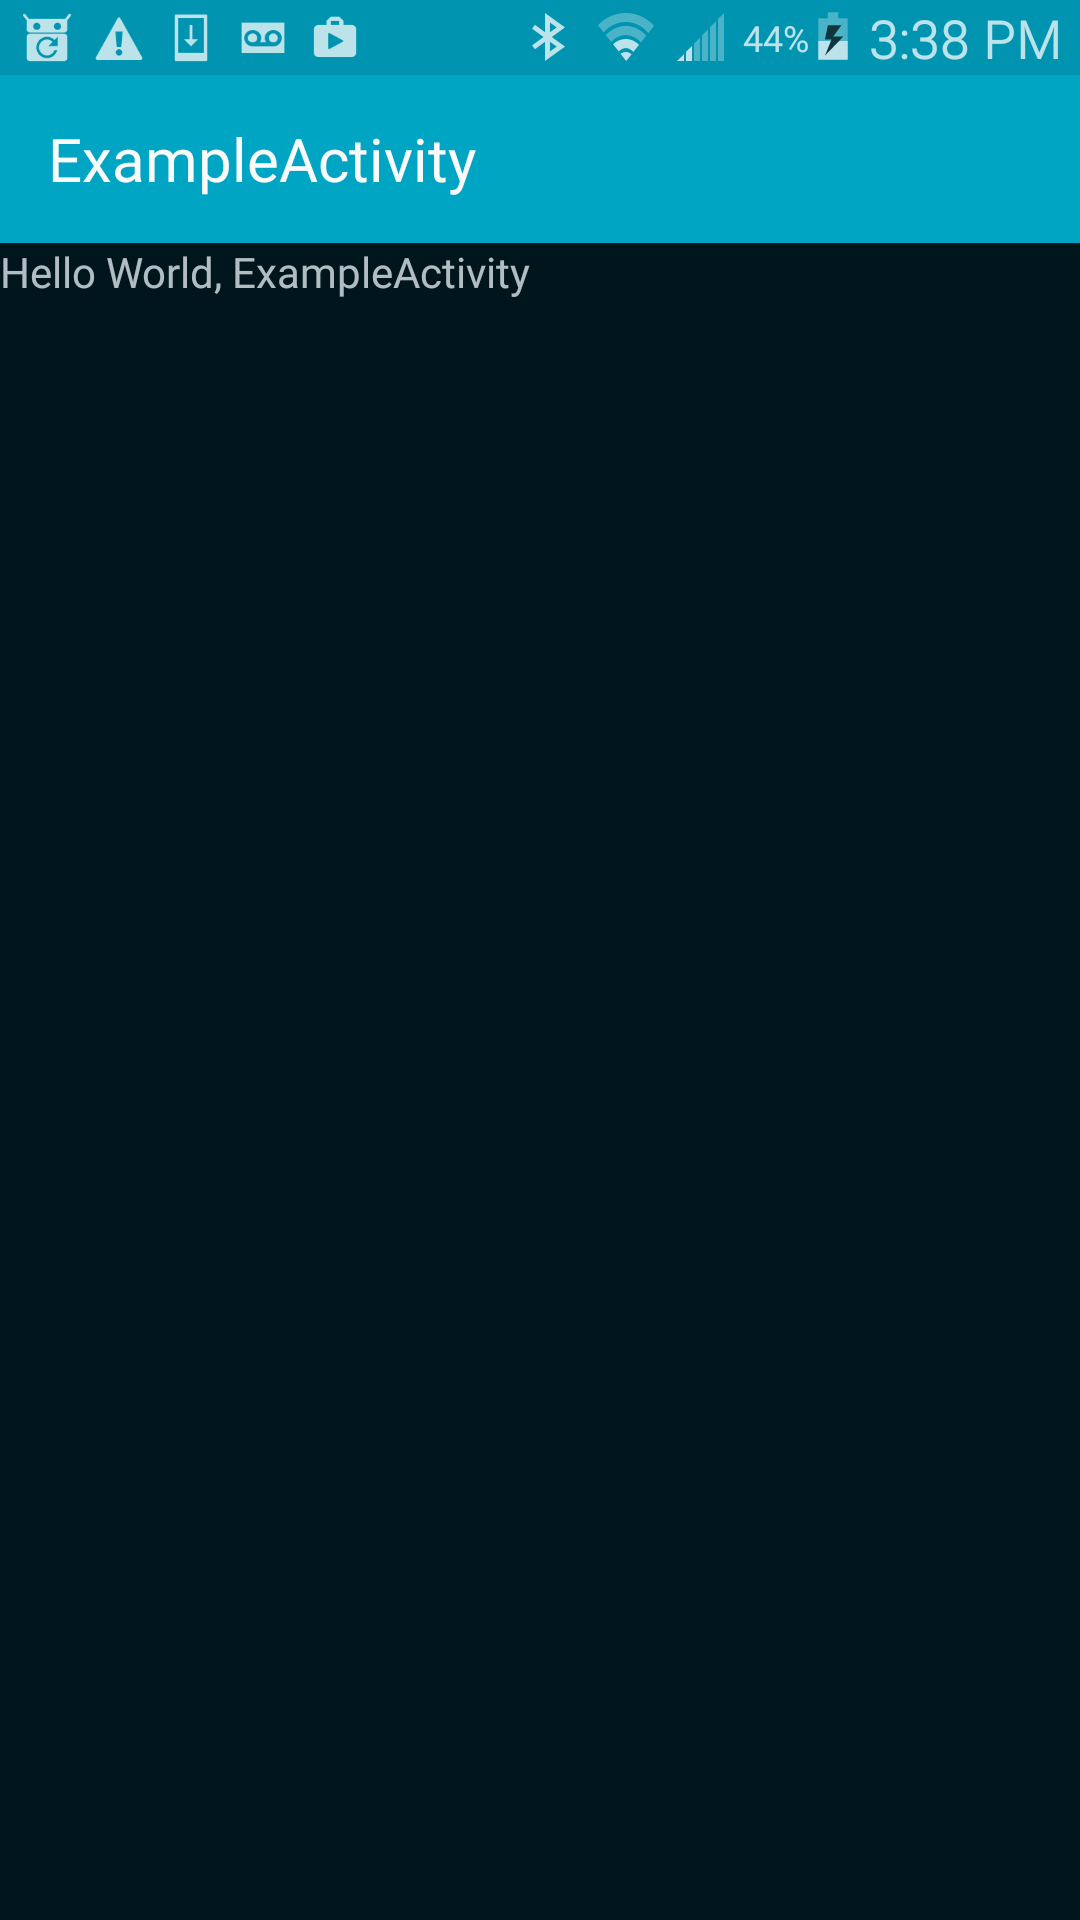
At this point, the app should look like:
A more modern look
Although specifying --target android-21 sets compileSdkVersion in build.gradle, it doesn’t set minSdkVersion in AndroidManifest.xml. To be able to use newer Android APIs, and to get a more updated look, edit src/main/AndroidManifest.xml and add the line:
<uses-sdk android:minSdkVersion="21"/>right before the </manifest> line.
Build and install the app again, and now it has a more modern titlebar:
Shortcut
Instead of running android project create and then making the changes mentioned above, you can just start with this repository, and run change-package-name.pl.

