Programmable Christmas lights with Trinket
Using a Raspberry Pi, FadeCandy, and Haskell to control Alitove Christmas lights is great if you want to do complex light sequences synchronized to music. But for just twinkling a few lights, it’s overkill.
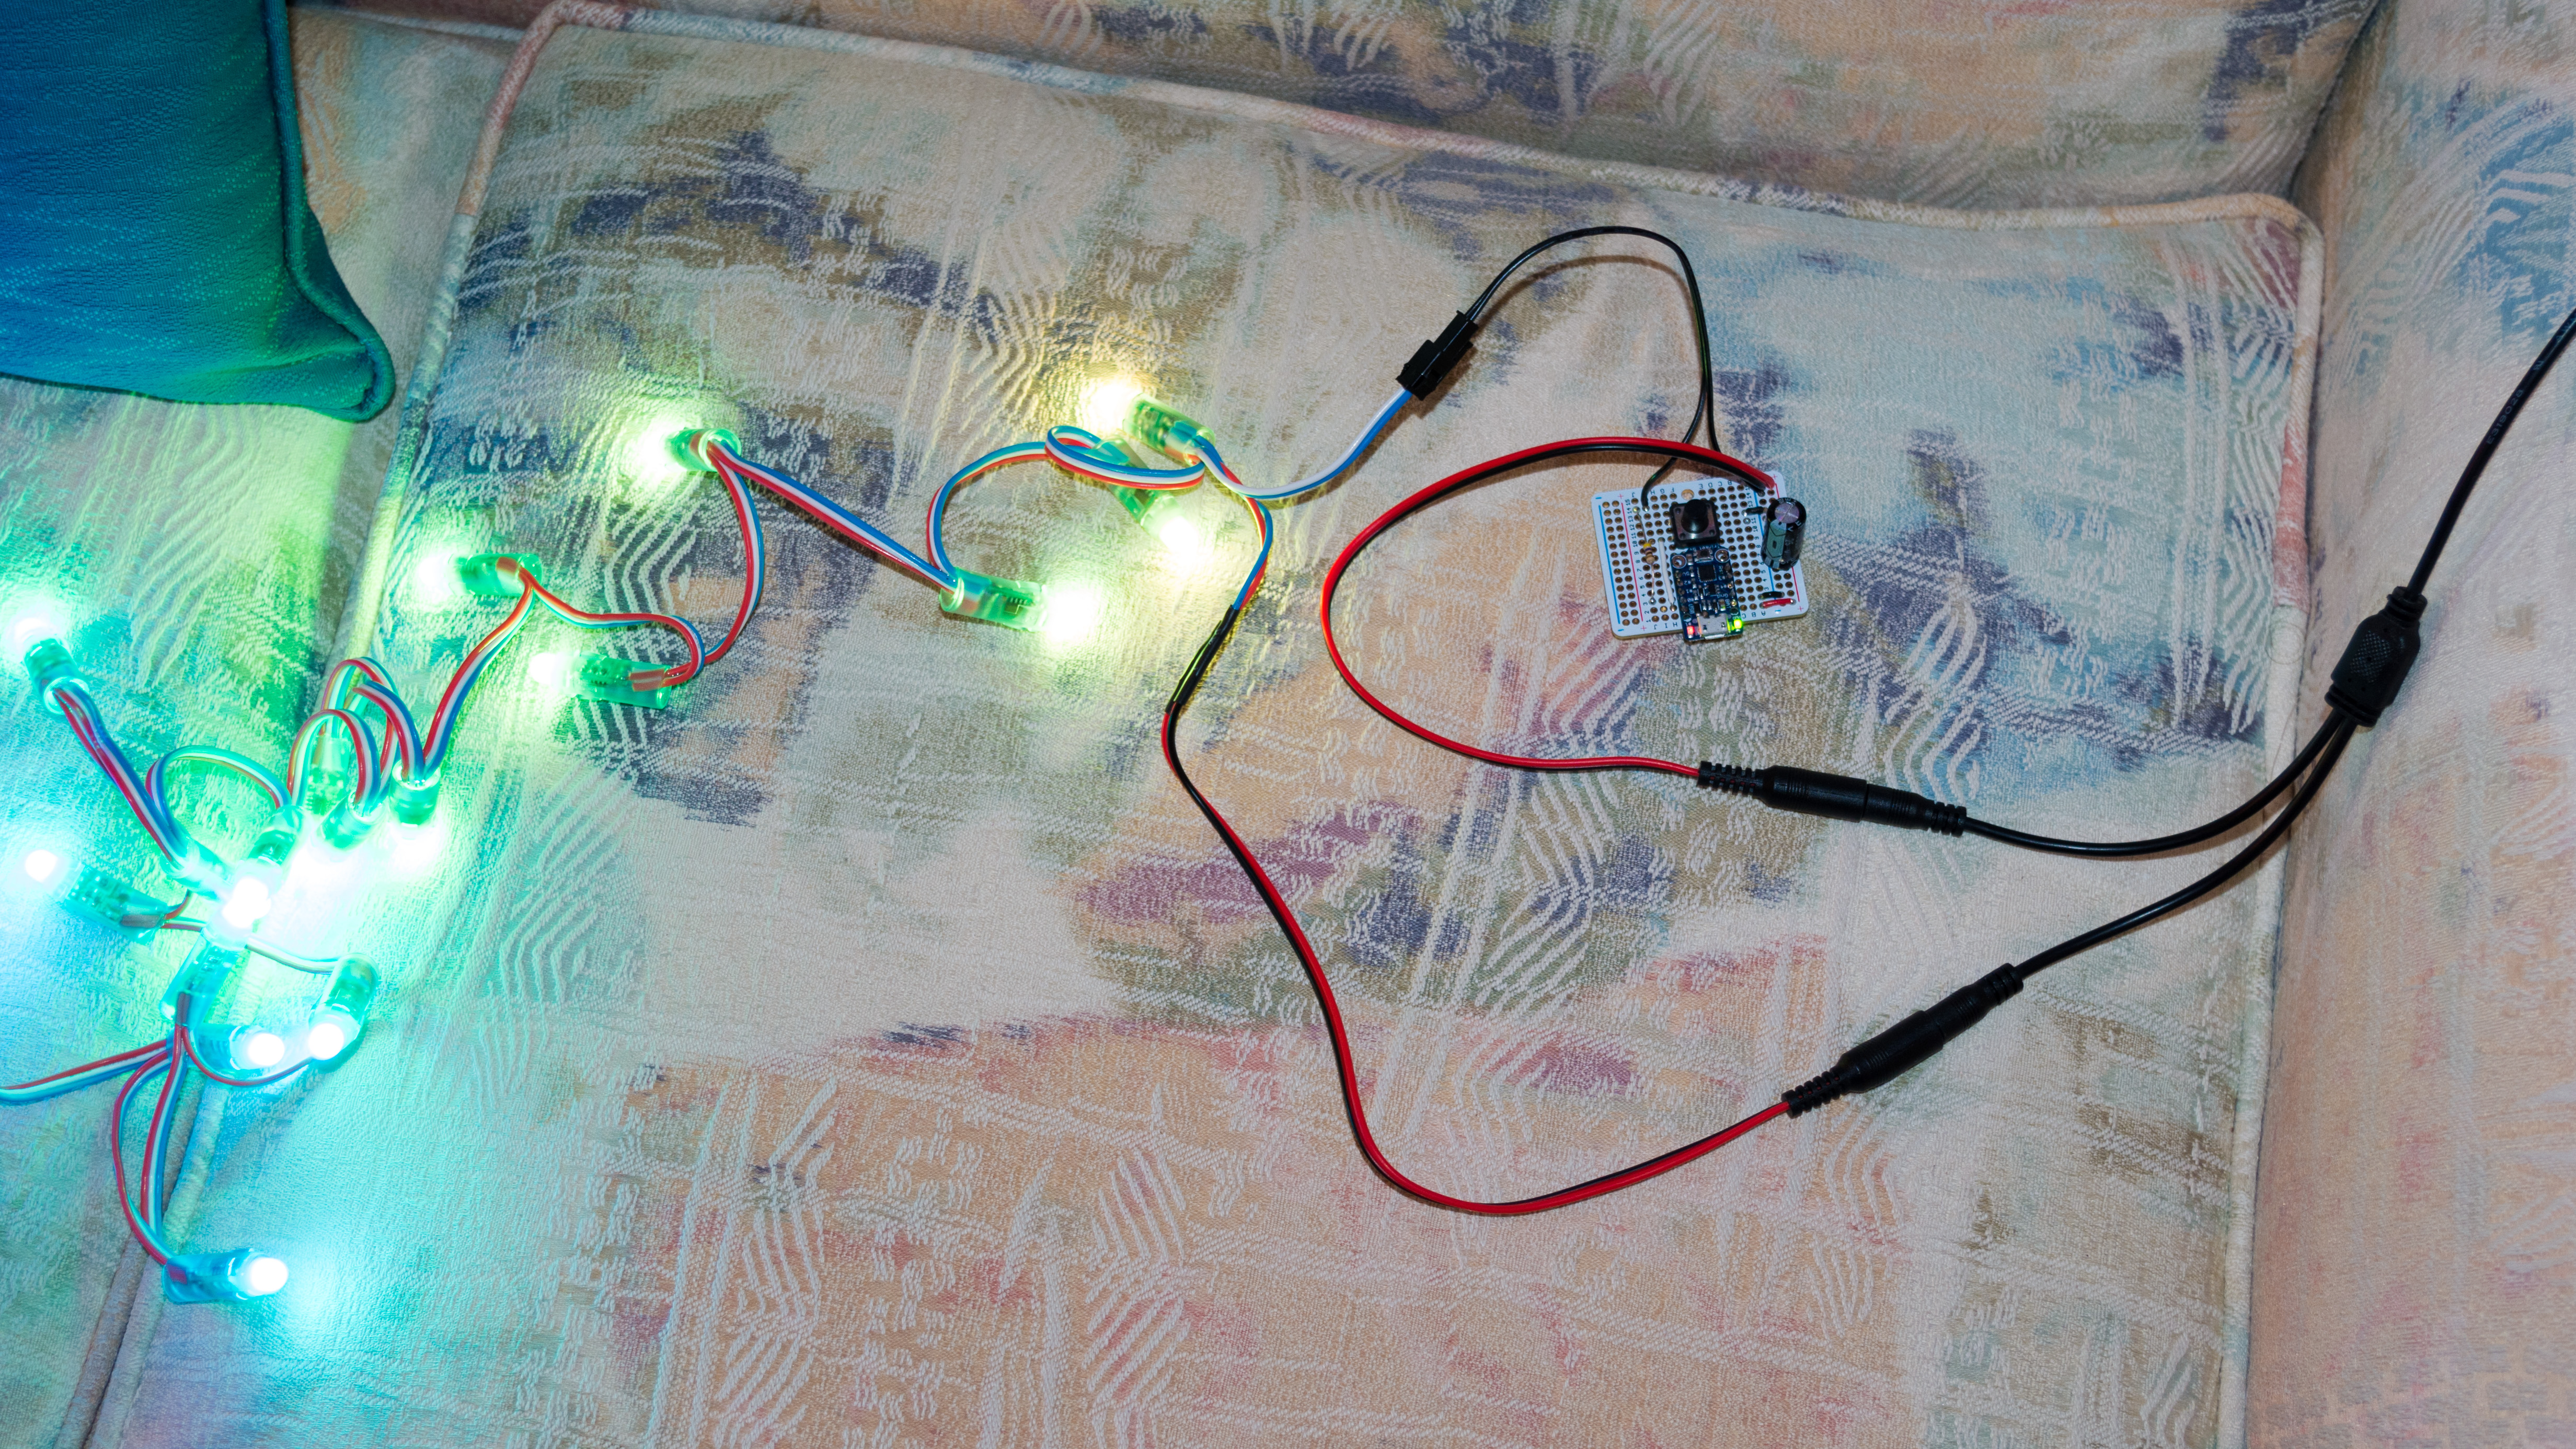
So, I decided to try controlling a string of Alitove lights from a Trinket. This is pretty much the smallest, simplest, cheapest microcontroller you can get.
The Trinket is an “almost” Arduino-compatible, and is programmed with the Arduino IDE. I hadn’t used Arduino before, and I generally have an allergy to IDEs, but it was pretty easy to get up and running. I followed the instructions for adding Trinket to the Arduino IDE, and then the instructions for adding the Neopixel library.
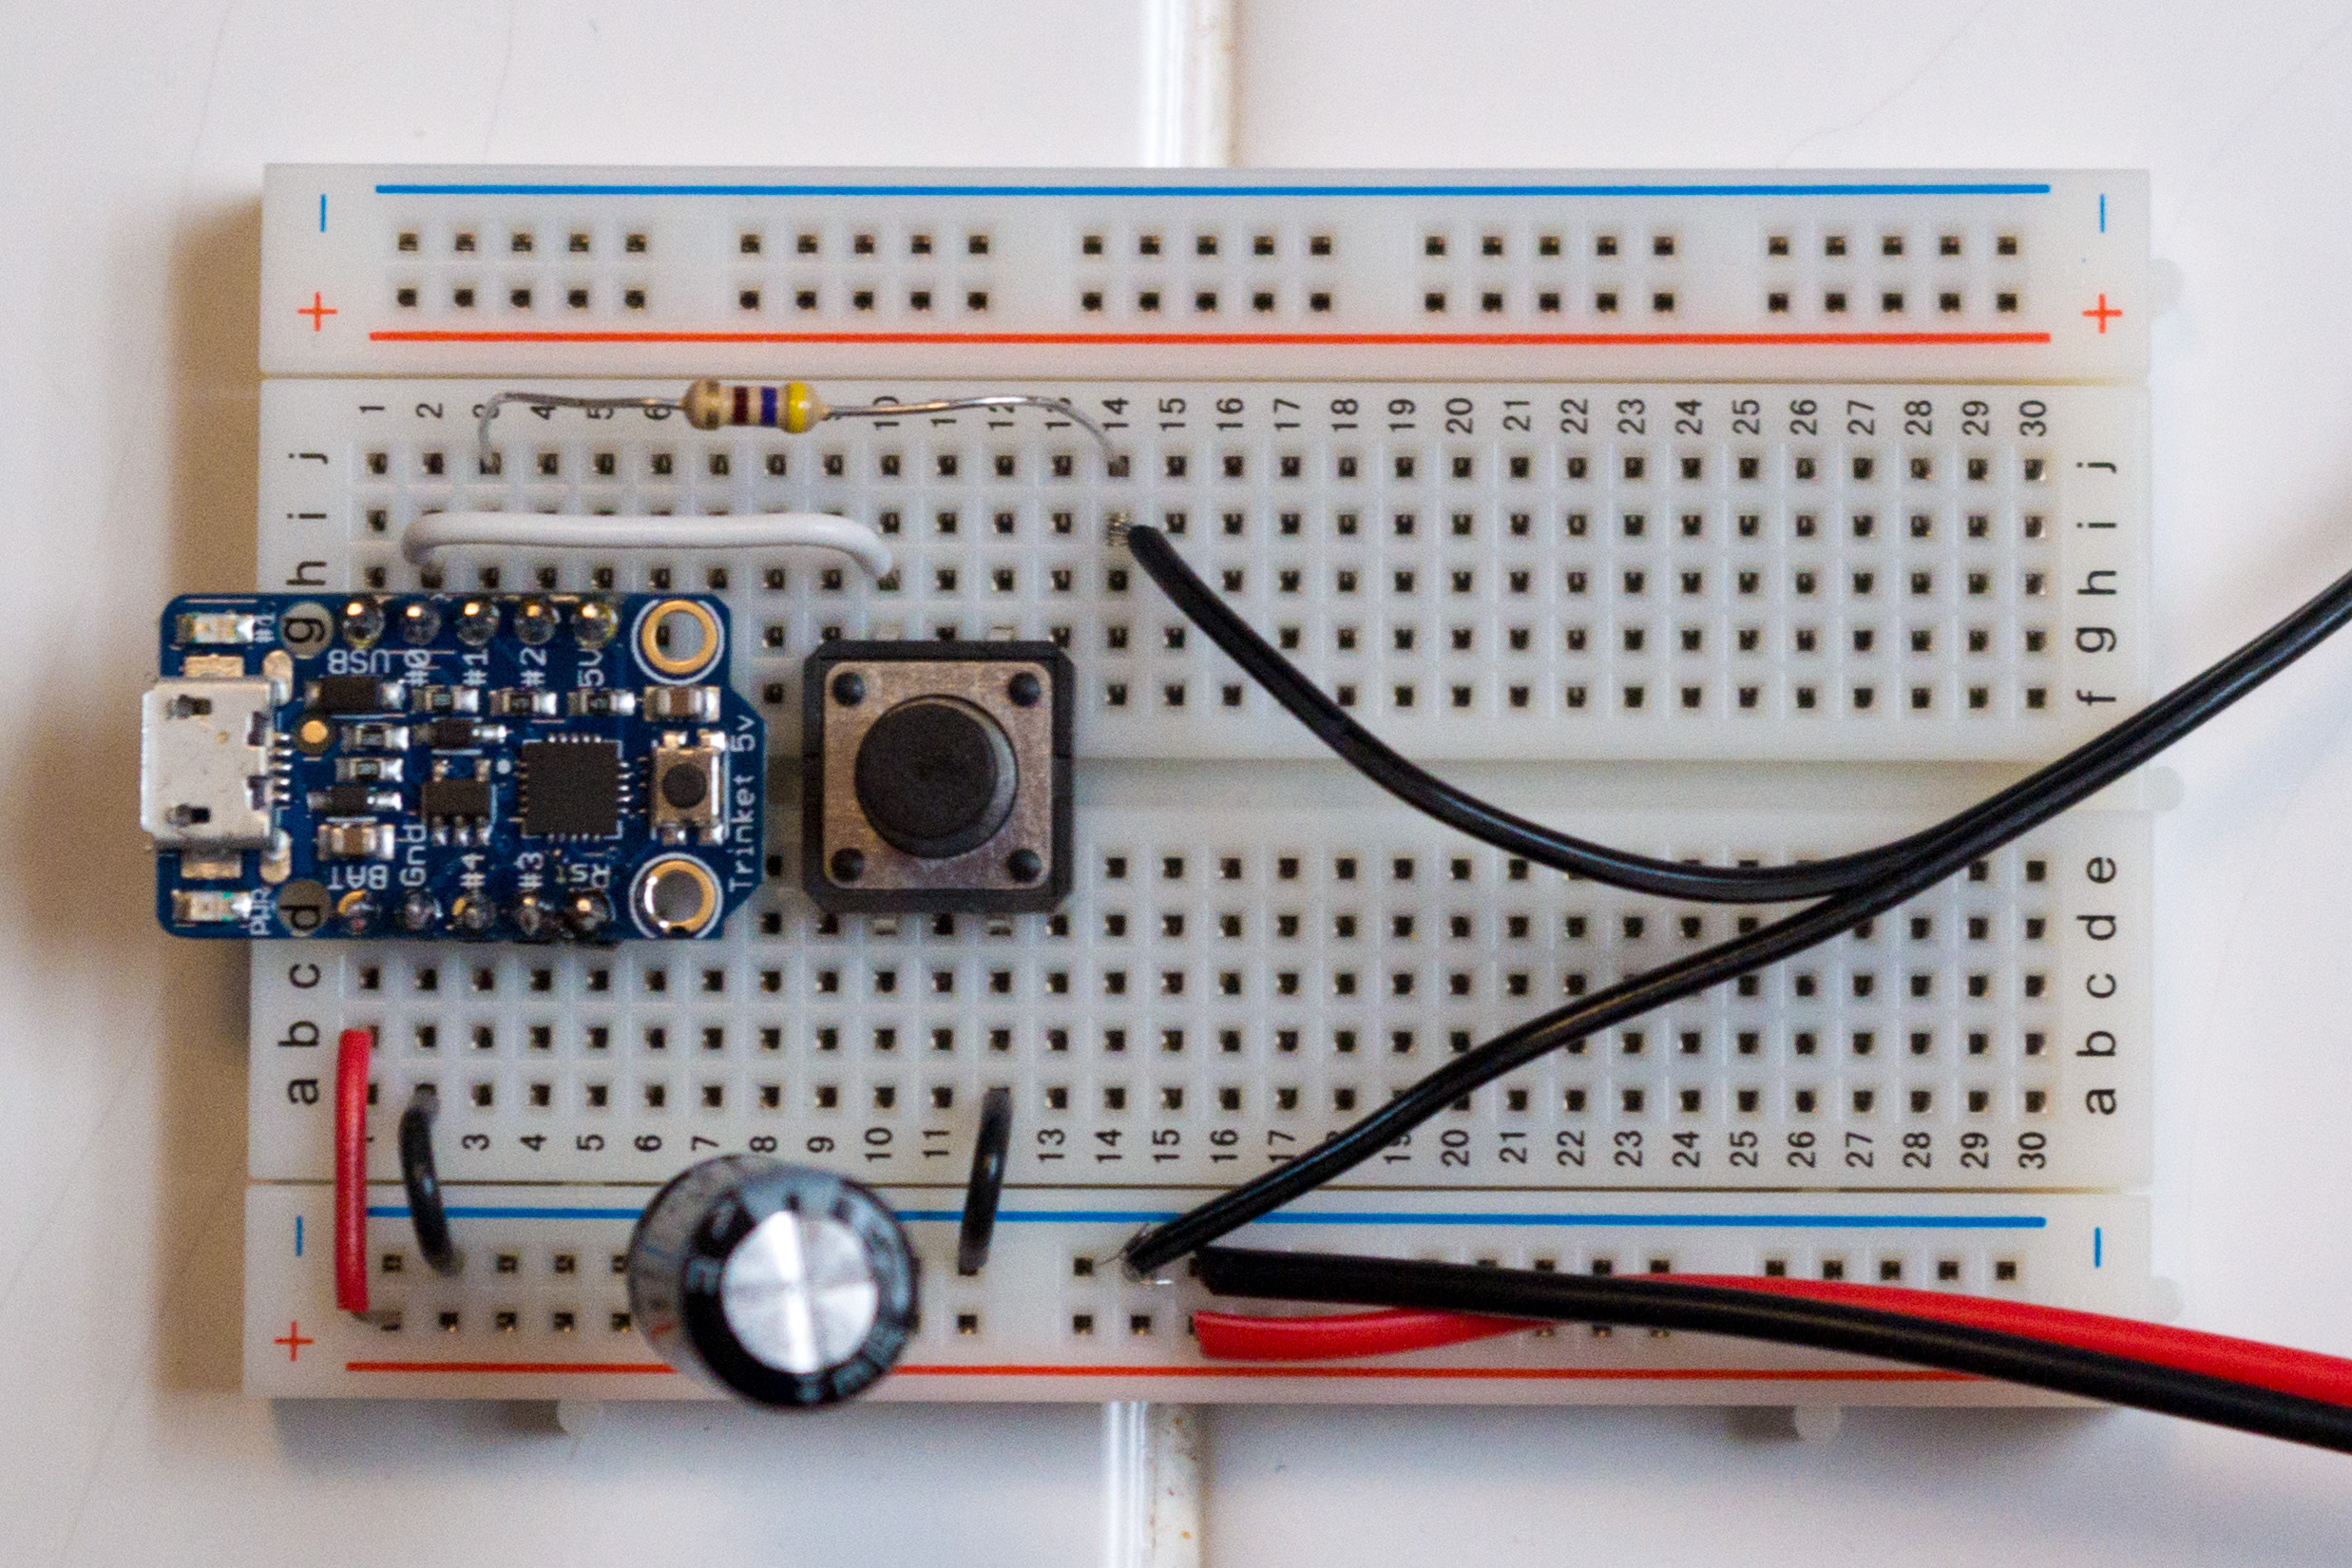
I soldered male headers onto the Trinket so I could stick it on a breadboard. I connected BAT to the same 12V supply I’m using for powering the Alitove string, so I don’t need a separate power supply like I do with the Raspberry Pi. I put a 1000µF capacitor across the power supply rails as recommended in the Neopixel best practices.
I connected the “data” wire of my JST SM connector (which goes to the white wire on the Alitove string) to pin 1 of the Trinket via a 470 ohm resistor (also as recommended in Neopixel best practices).
Finally, I connected a pushbutton between ground and the Trinket’s pin 0. This way, I can push the button to cycle through different lighting effects.
Curiously, to get red and green to come out correctly, I have to initialize the Neopixel library with NEO_RGB instead of NEO_GRB. (This is the exact opposite of what I had to do with the FadeCandy, where I had to set the pixel order to “grb” to get it to come out right. I have no idea how to explain this discrepancy.)
Here is the code I wrote for the Trinket, based on the strandtest example. I used the button to switch between different light patterns. (So this wound up being a lot like buttoncycler, although I implemented it a bit differently. And I don’t debounce the button, but it doesn’t seem to need it.) Also, I store the current mode in the Trinket’s EEPROM, so when you power it up, it will run the same pattern it was running before.
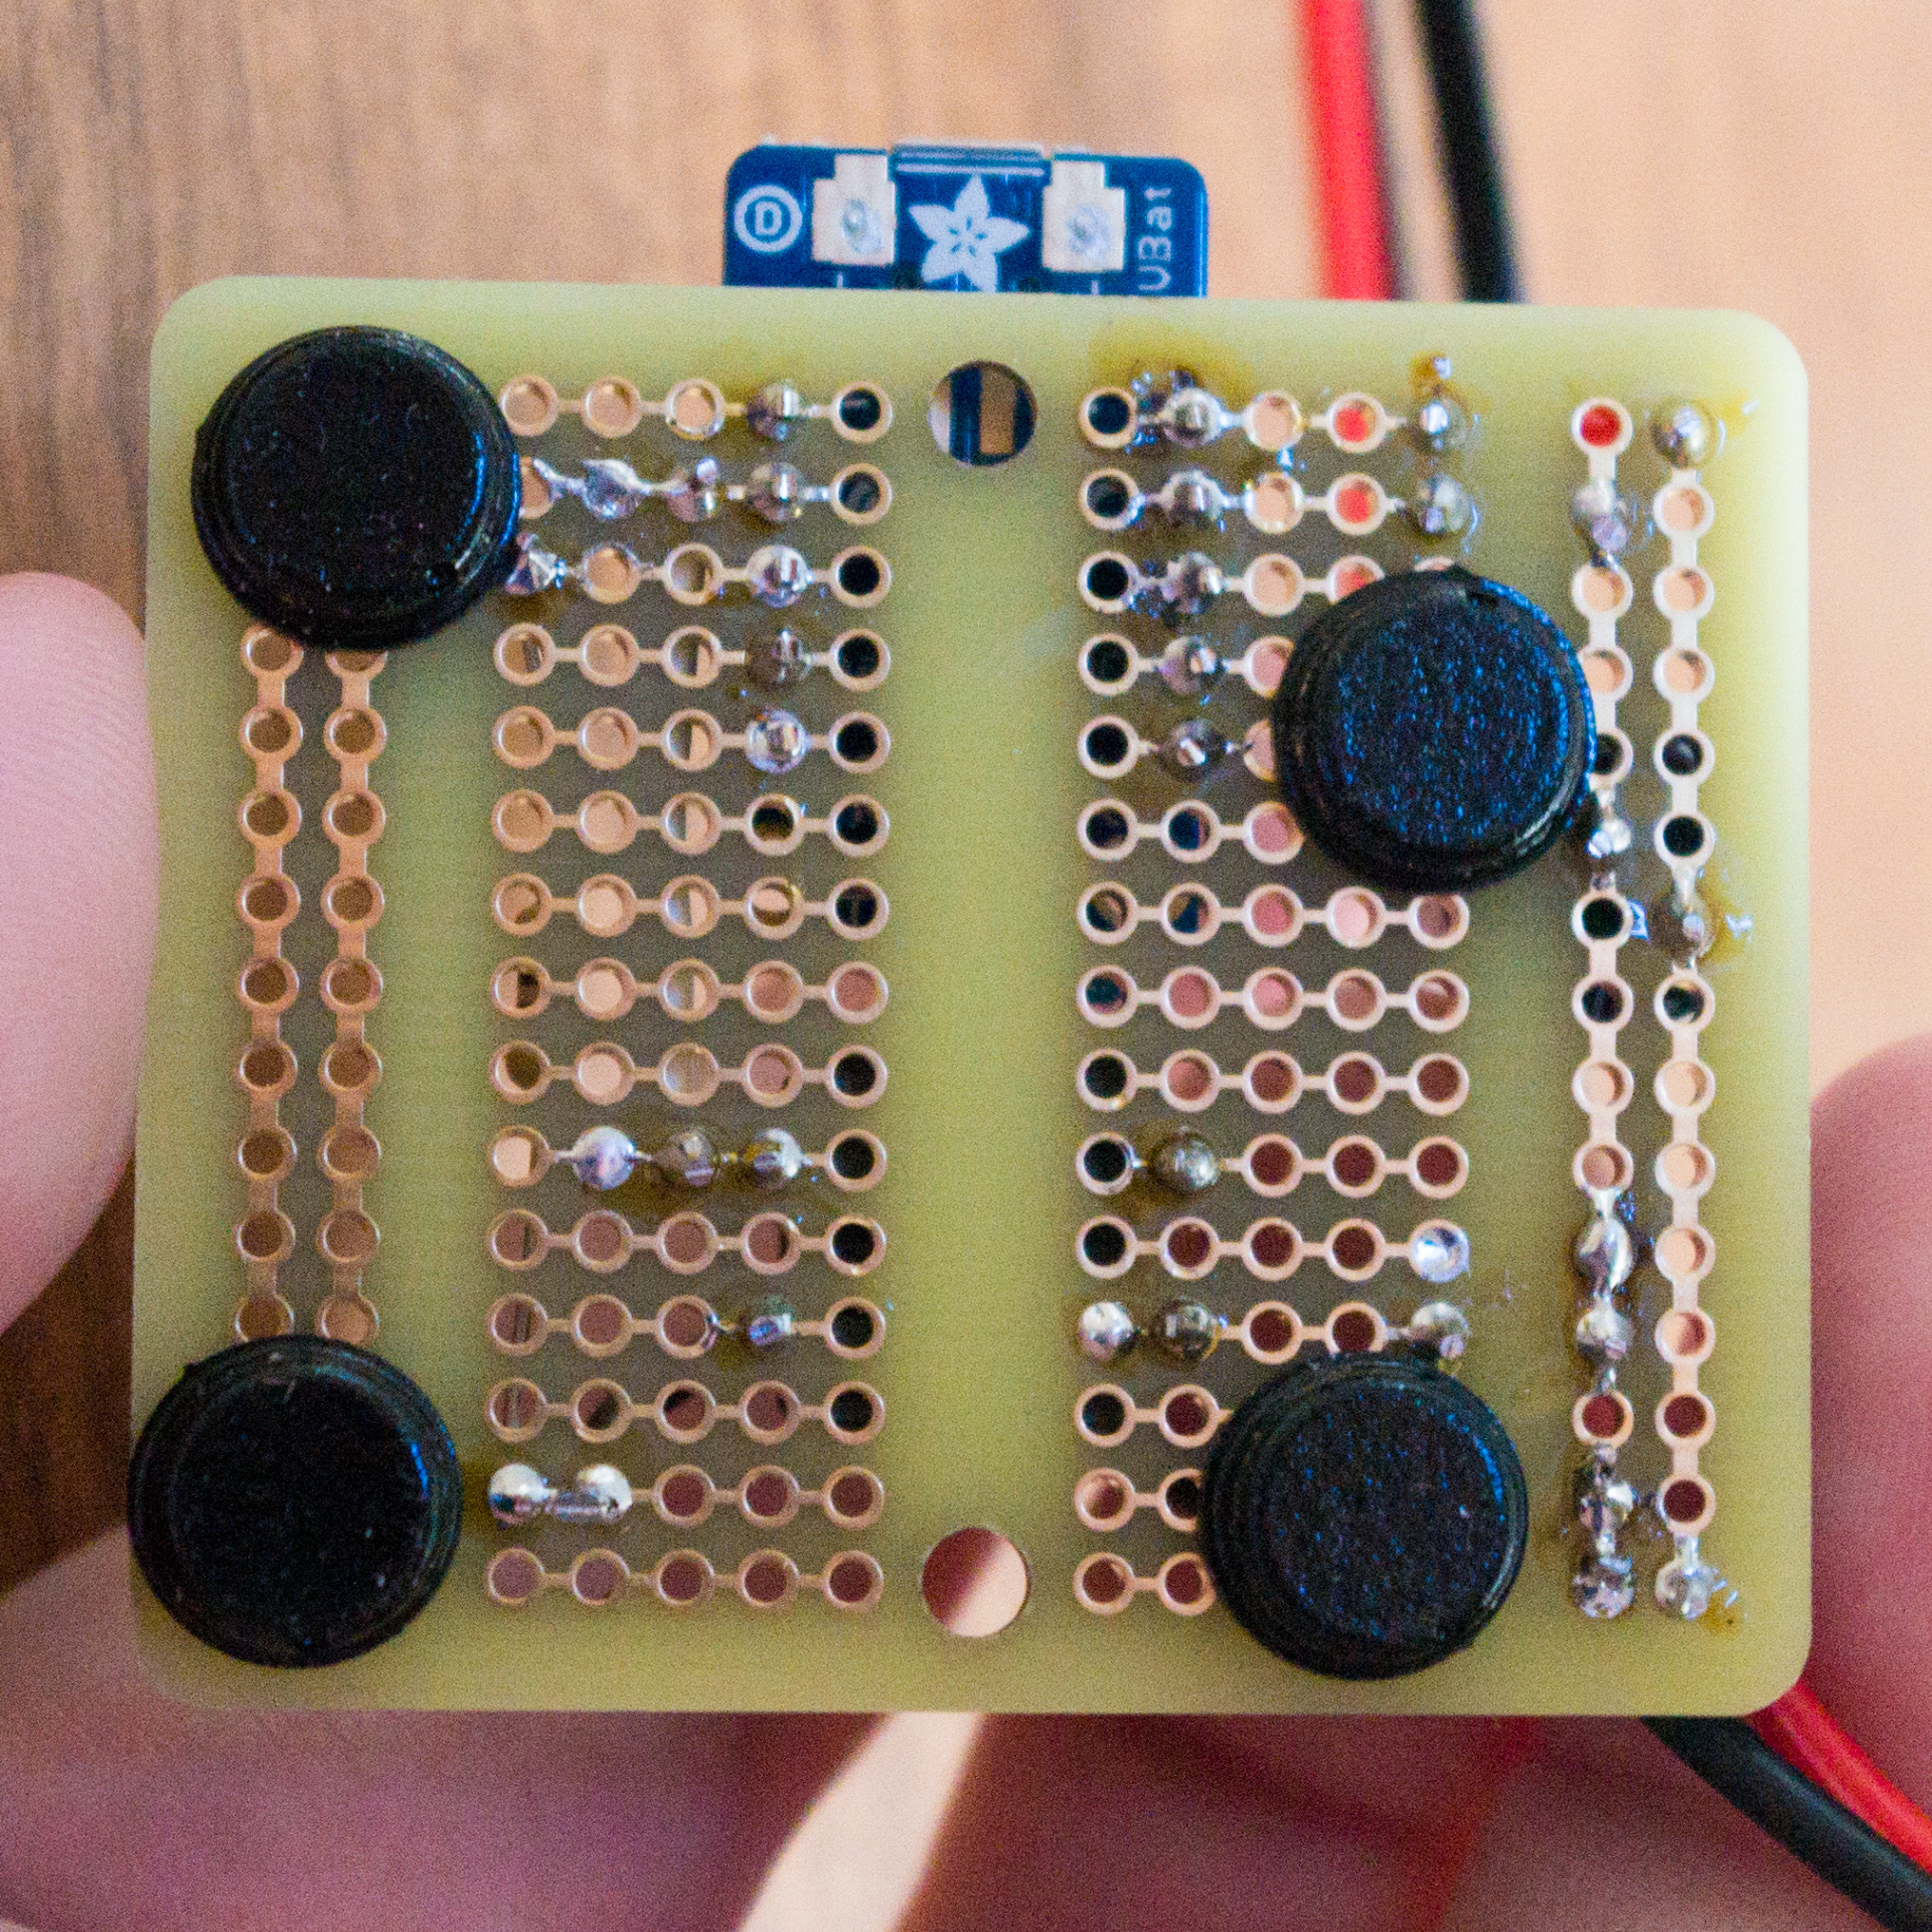
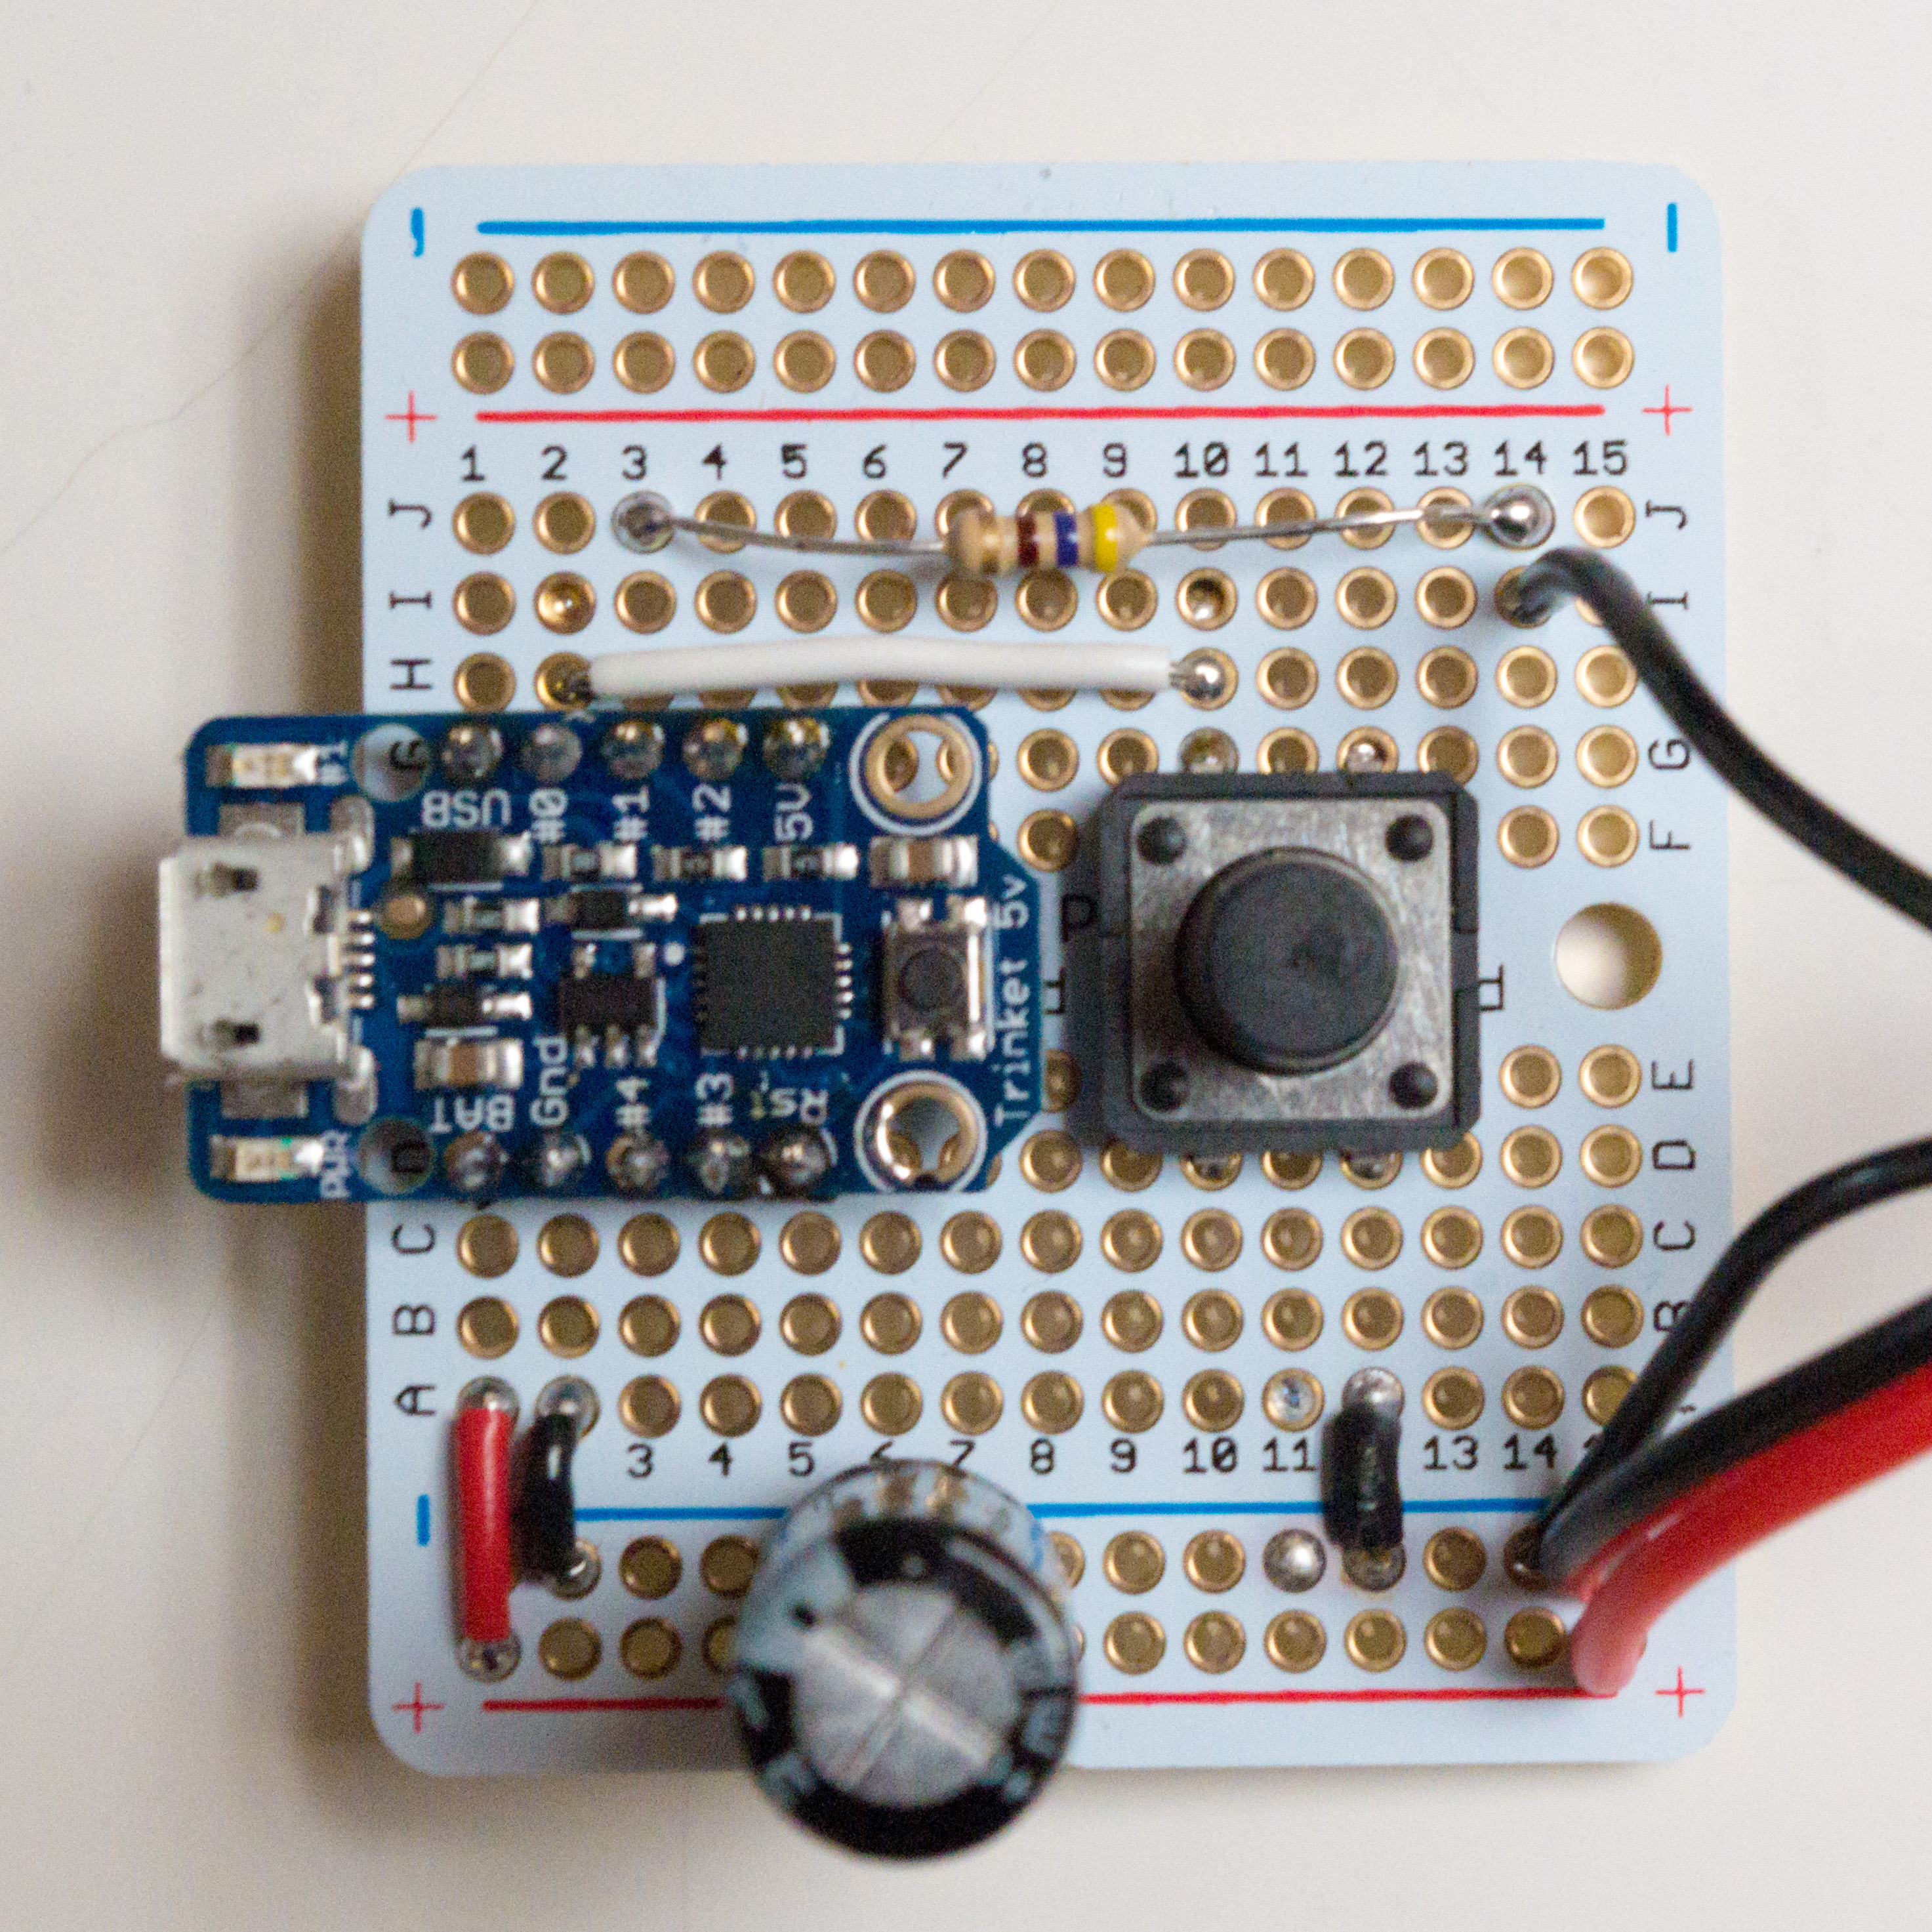
Finally, I took my circuit off of the breadboard and soldered it onto a Perma-Proto board:
The finishing touch is to attach some feet to the bottom of the board, so it will sit nicely on a flat surface. I had to attach the feet in an asymmetrical pattern, in order to find blank spaces on the bottom of the board where the feet could attach. I also had to trim the pins of the Trinket so they didn’t protrude past the feet.