GPIO on Raspberry Pi with Haskell
So, I’ve already got a Raspberry Pi controlling strings of programmable Christmas lights. But it would be nice to be able to switch between different patterns with a button, like I’m already doing in the Arduino version of this project. Luckily, this can be done by using the Pi’s GPIO pins.
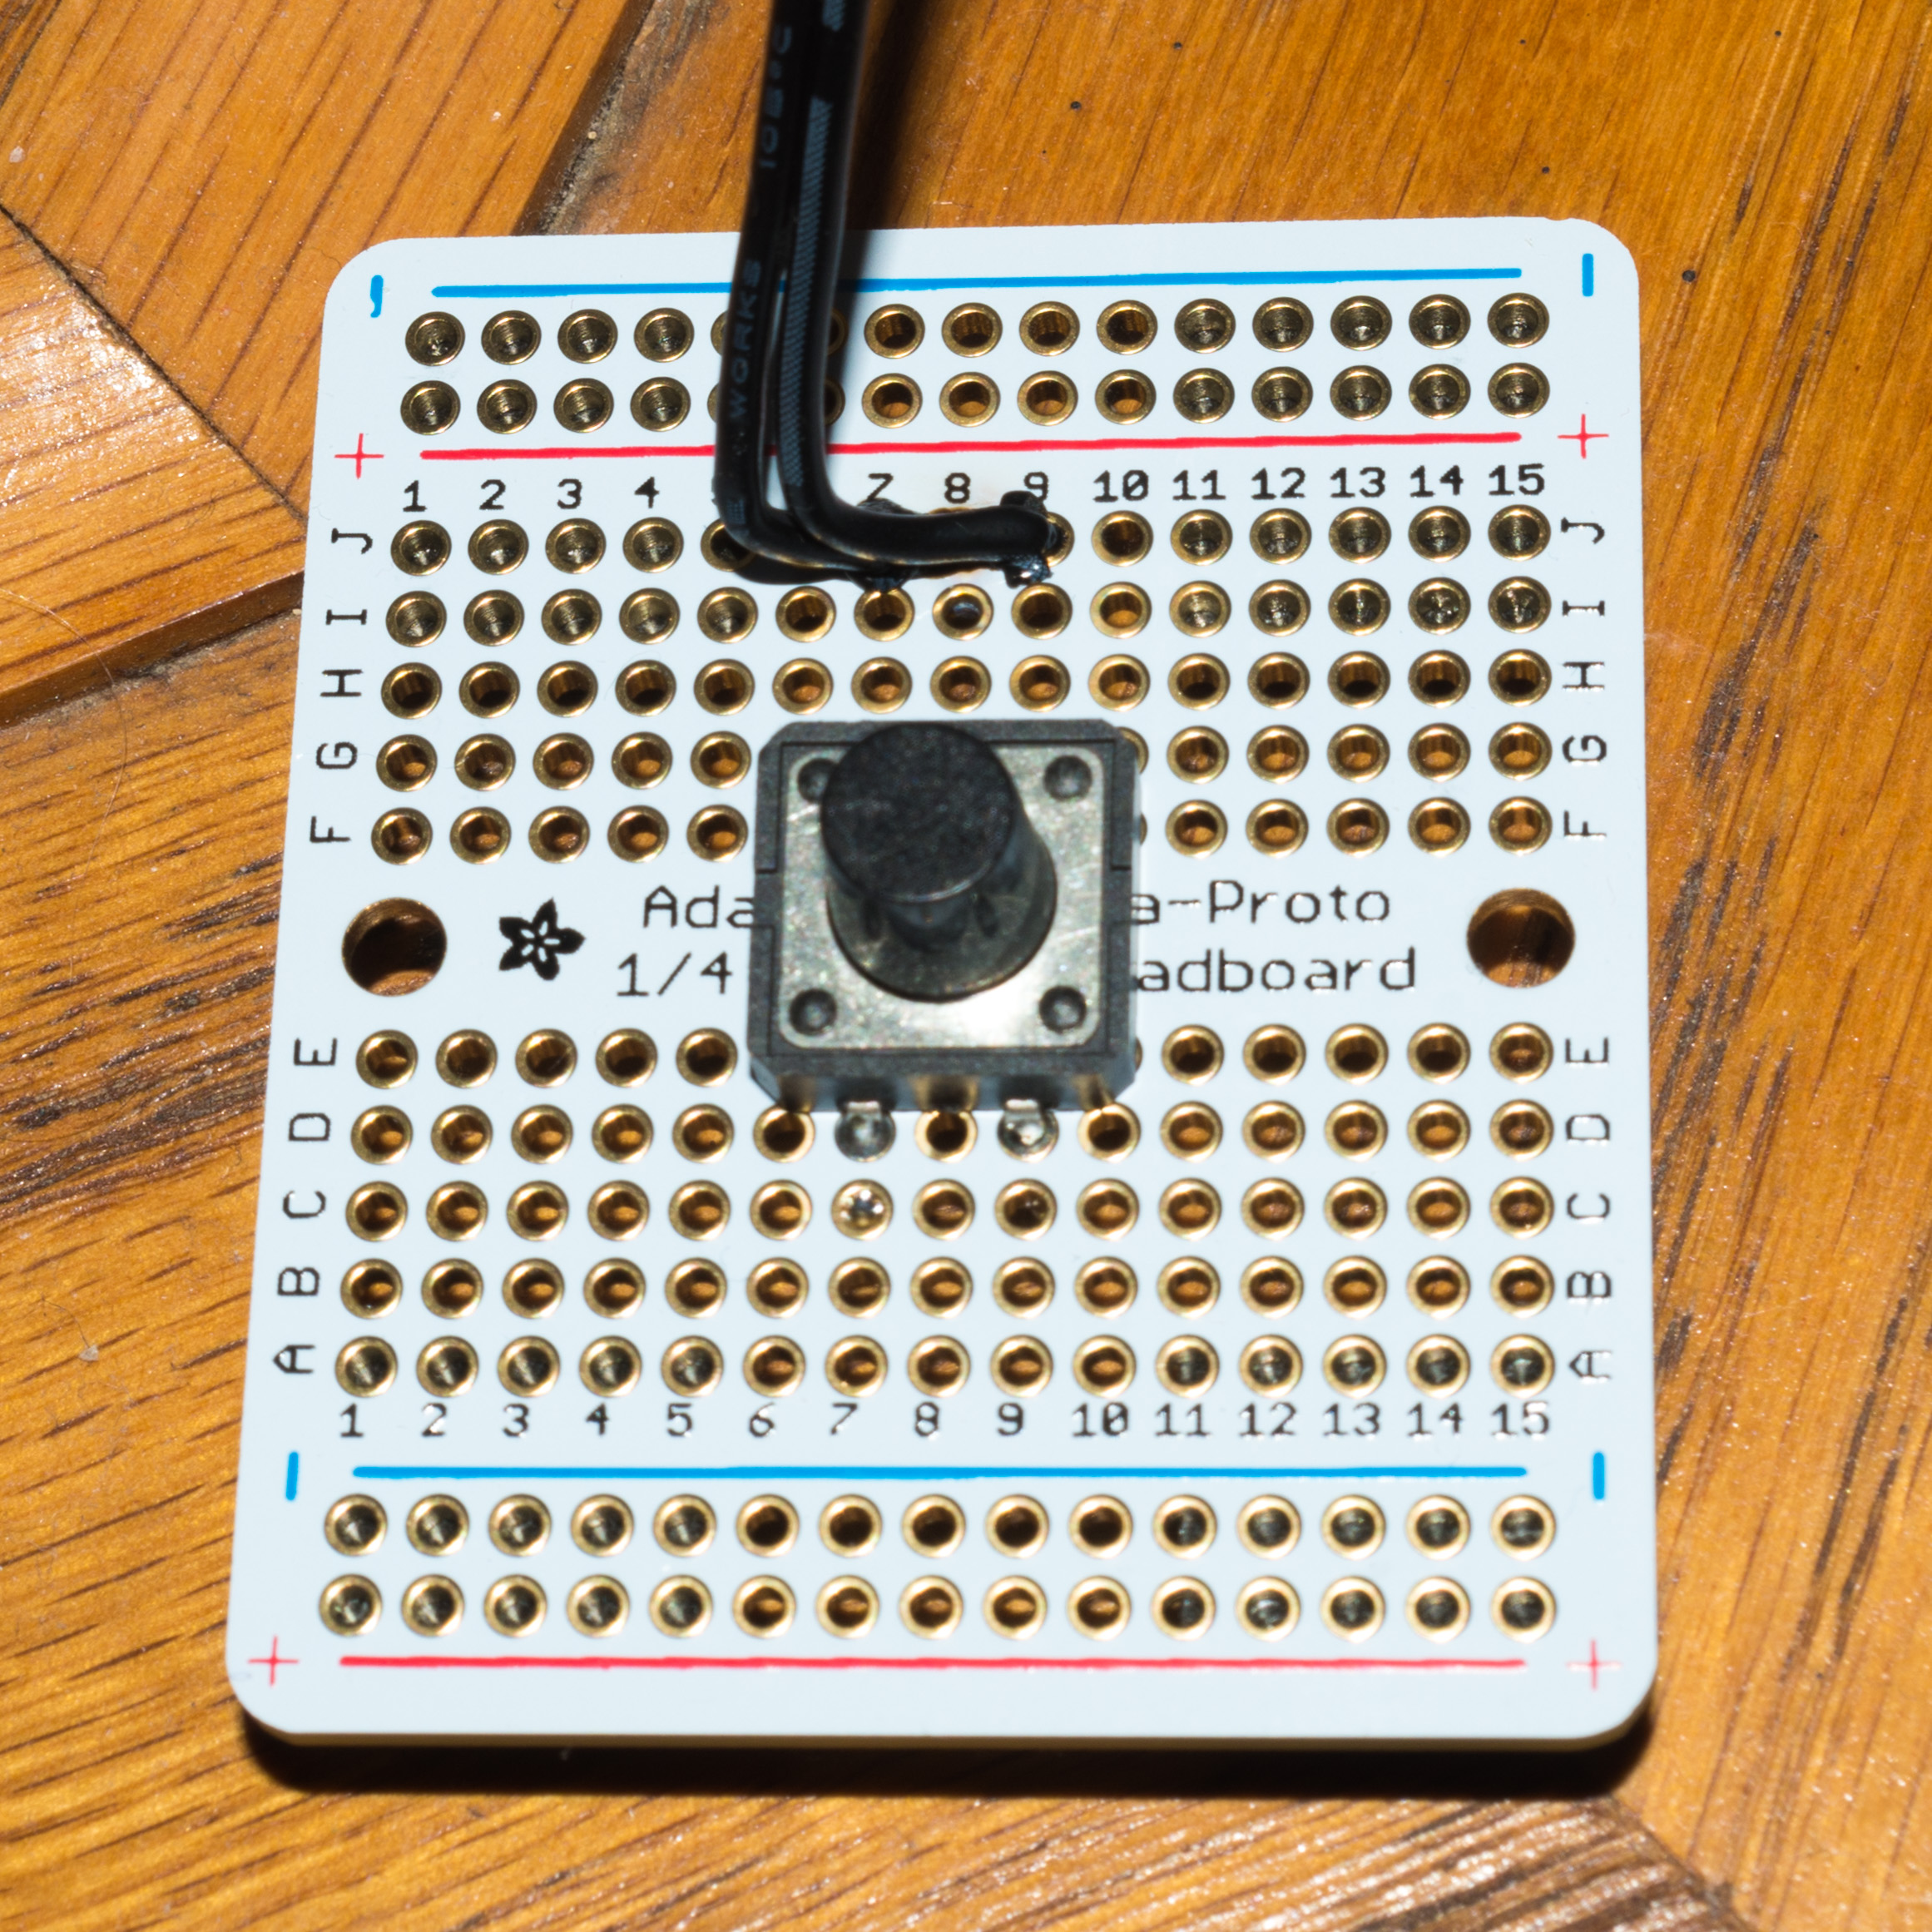
I started out with one of these two-pin female pigtails and soldered it to a button:
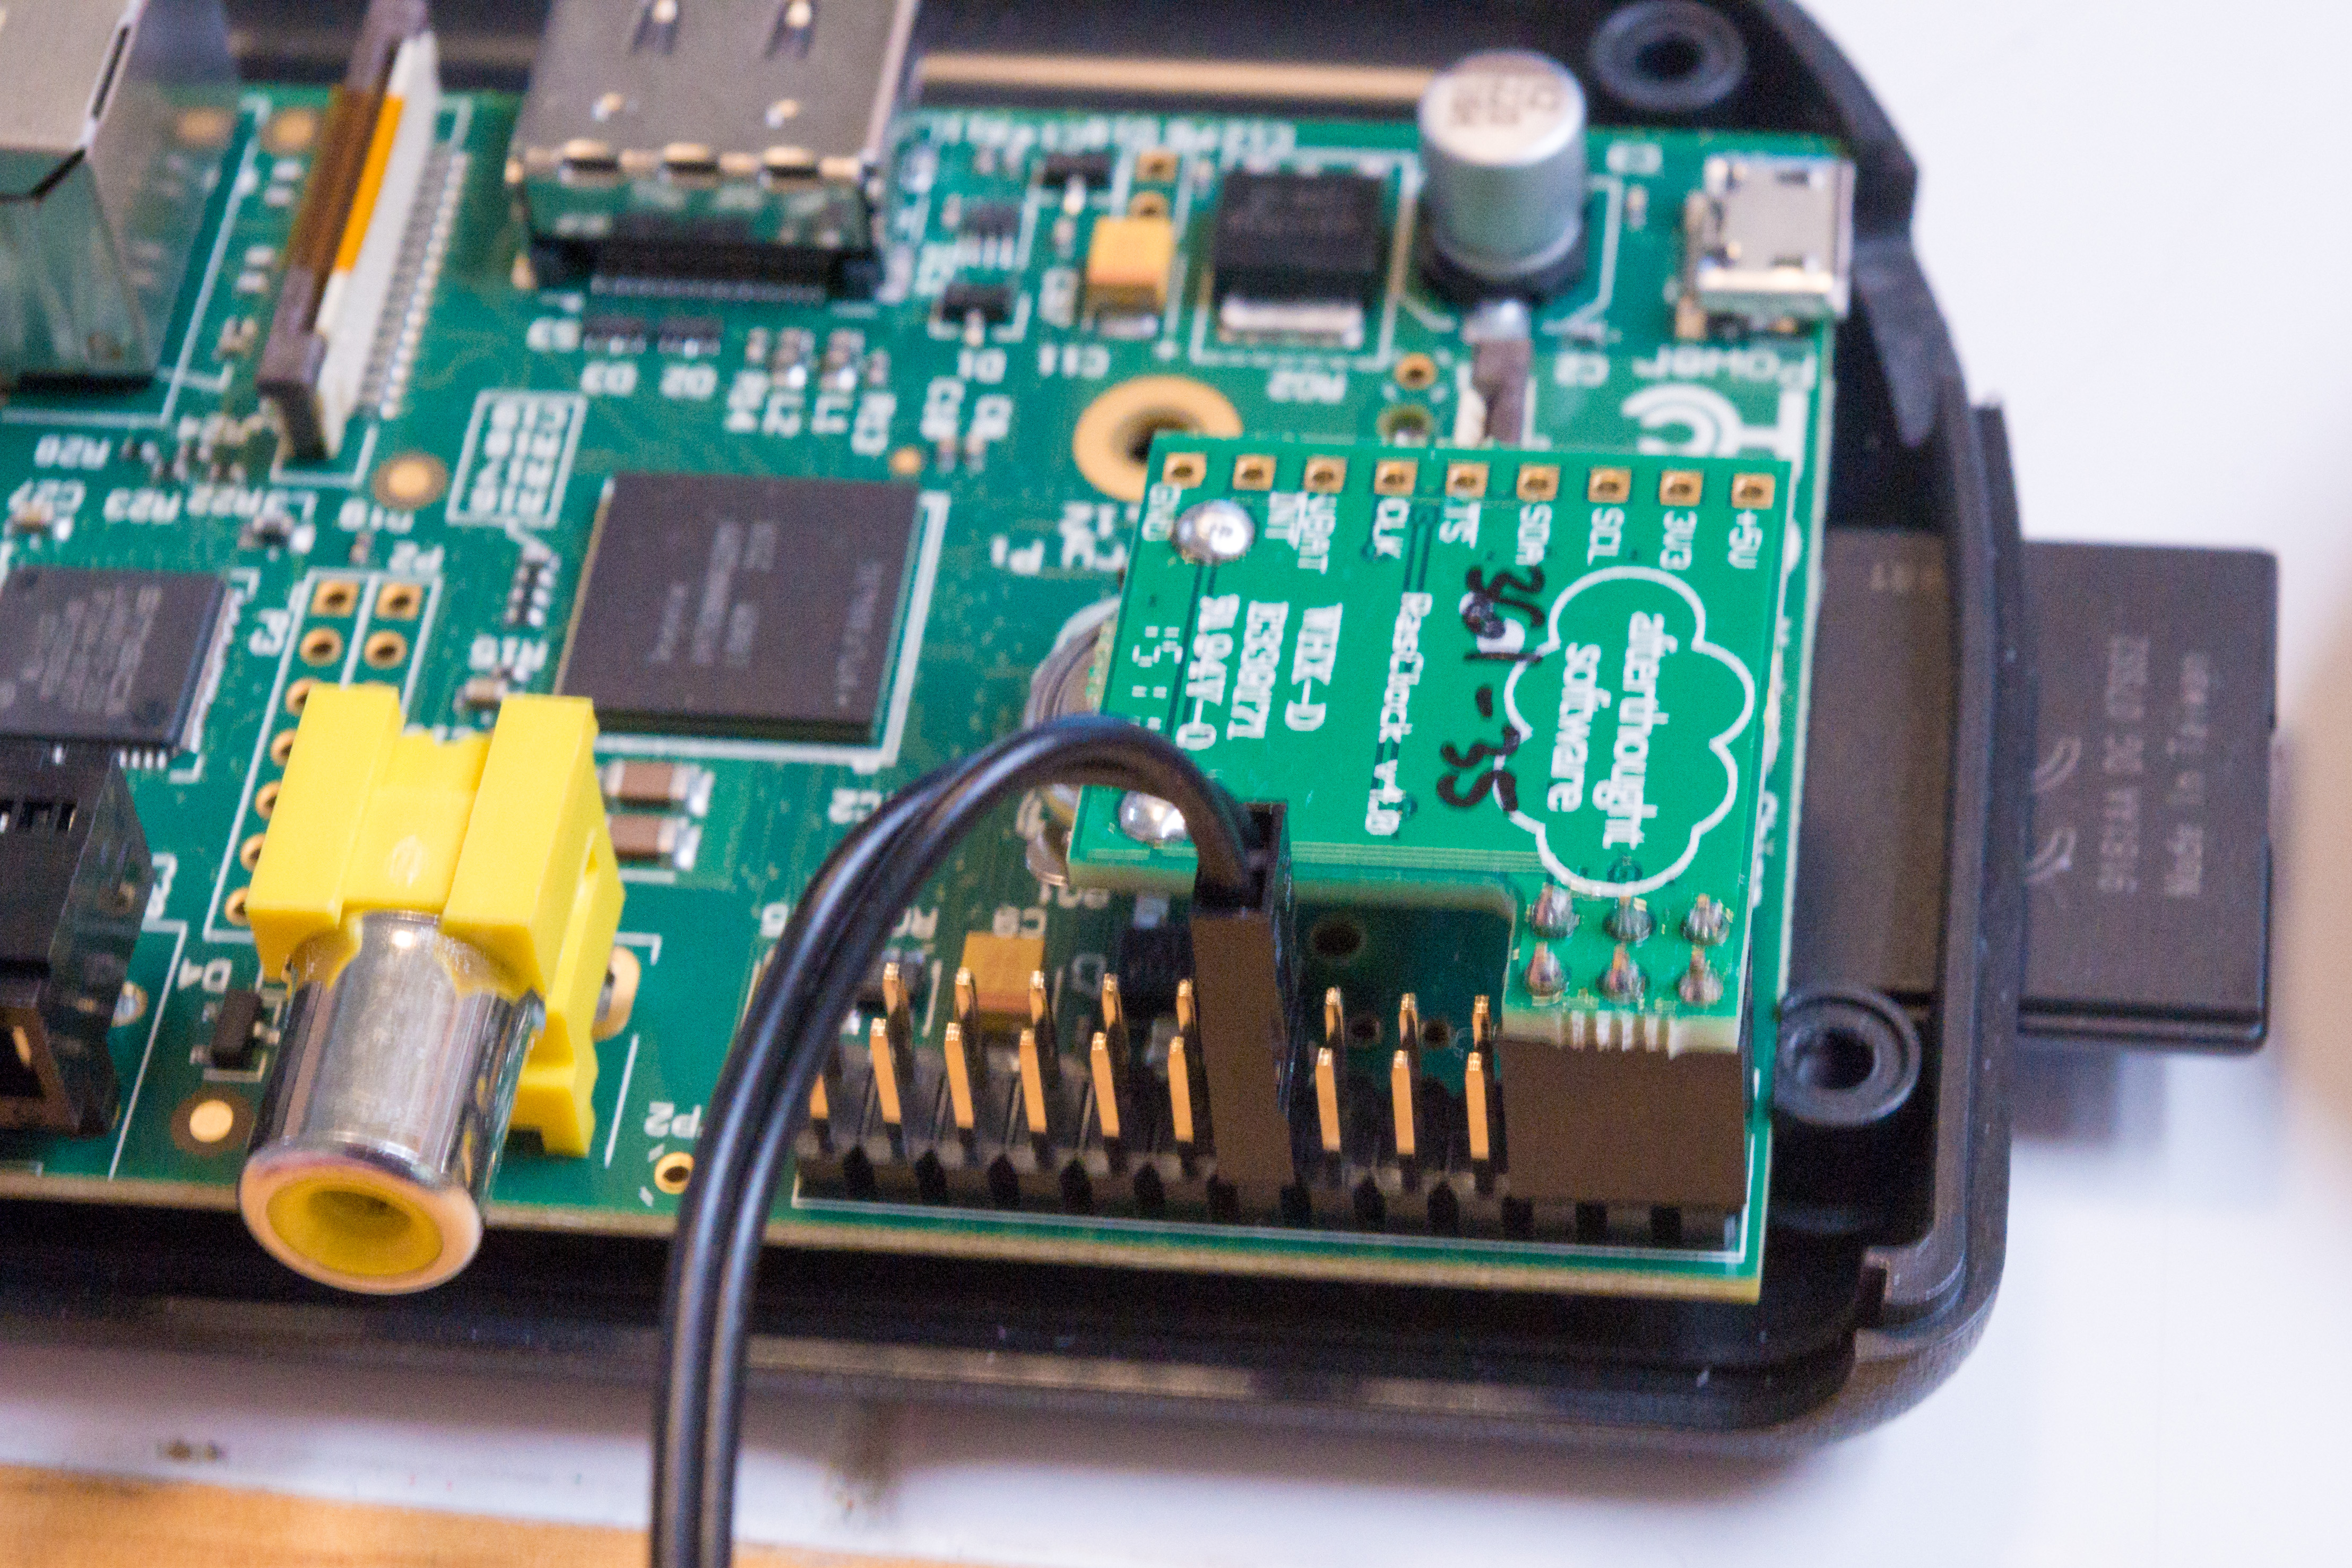
Next, I connected the female pigtail to pins 13 and 14 of the Pi’s main GPIO connector. Pin 13 is GPIO2 and pin 14 is GND, so this lets the pushbutton pull GPIO2 to ground. (Clarification: By GPIO2, I mean wiringPi pin 2, or BCM pin 27.)
Now, all that’s needed is the software. I used the wiringPi library to talk to the Pi’s GPIO. Unlike some solutions for accessing the GPIO, wiringPi provides functions to configure the internal pullup resistors. Since my button is pulling GPIO2 to ground, I need a pullup resistor to pull GPIO2 up when the button is not being pressed. Although I could have just soldered on an external pullup resistor, I’m a software guy, not a hardware guy, so I’d rather do it in software.
I wrote a minimal Haskell binding to just the wiringPi functions I need for this project. (Update: I’ve now fleshed out this binding into its own package.) Then I wrote code so that pressing the button would cycle through three different lighting patterns.
Before building this program, you’ll need to install the “wiringPi” C library:
pi@raspberrypi:~ $ sudo apt-get install wiringpiWhen running this program, you either need to run it as root, or you need to set the WIRINGPI_GPIOMEM environment variable. (Set it to anything; the value doesn’t matter.) I’d recommend setting WIRINGPI_GPIOMEM so you don’t have to run it as root.
Now you have a button that can control your lights!